When spring arrives and Easter approaches, there is one preparation in Italy that can never be missing from the family table or the picnic basket. This delight originating from the Liguria region has a fascinating history and an irresistible flavor. Tradition says that the original recipe was prepared with 33 layers of paper-thin dough, paying homage to the years of Christ. Today I will teach you how to prepare a fantastic and much more accessible Torta Pasqualina, without complicating your life. Its filling hides a secret ingredient that provides a unique touch and, when you cut it, it will leave everyone speechless. Let’s get to it!
Contents
Watch the video with all the steps
Below you can watch the video with all the steps to prepare the Torta Pasqualina in the easiest way. And if you haven’t done so yet, I invite you to subscribe to my YouTube channel so you don’t miss any new recipes.
Don’t forget to follow me on Instagram! There I share more recipes, tips, and special content for lovers of Italian cuisine.

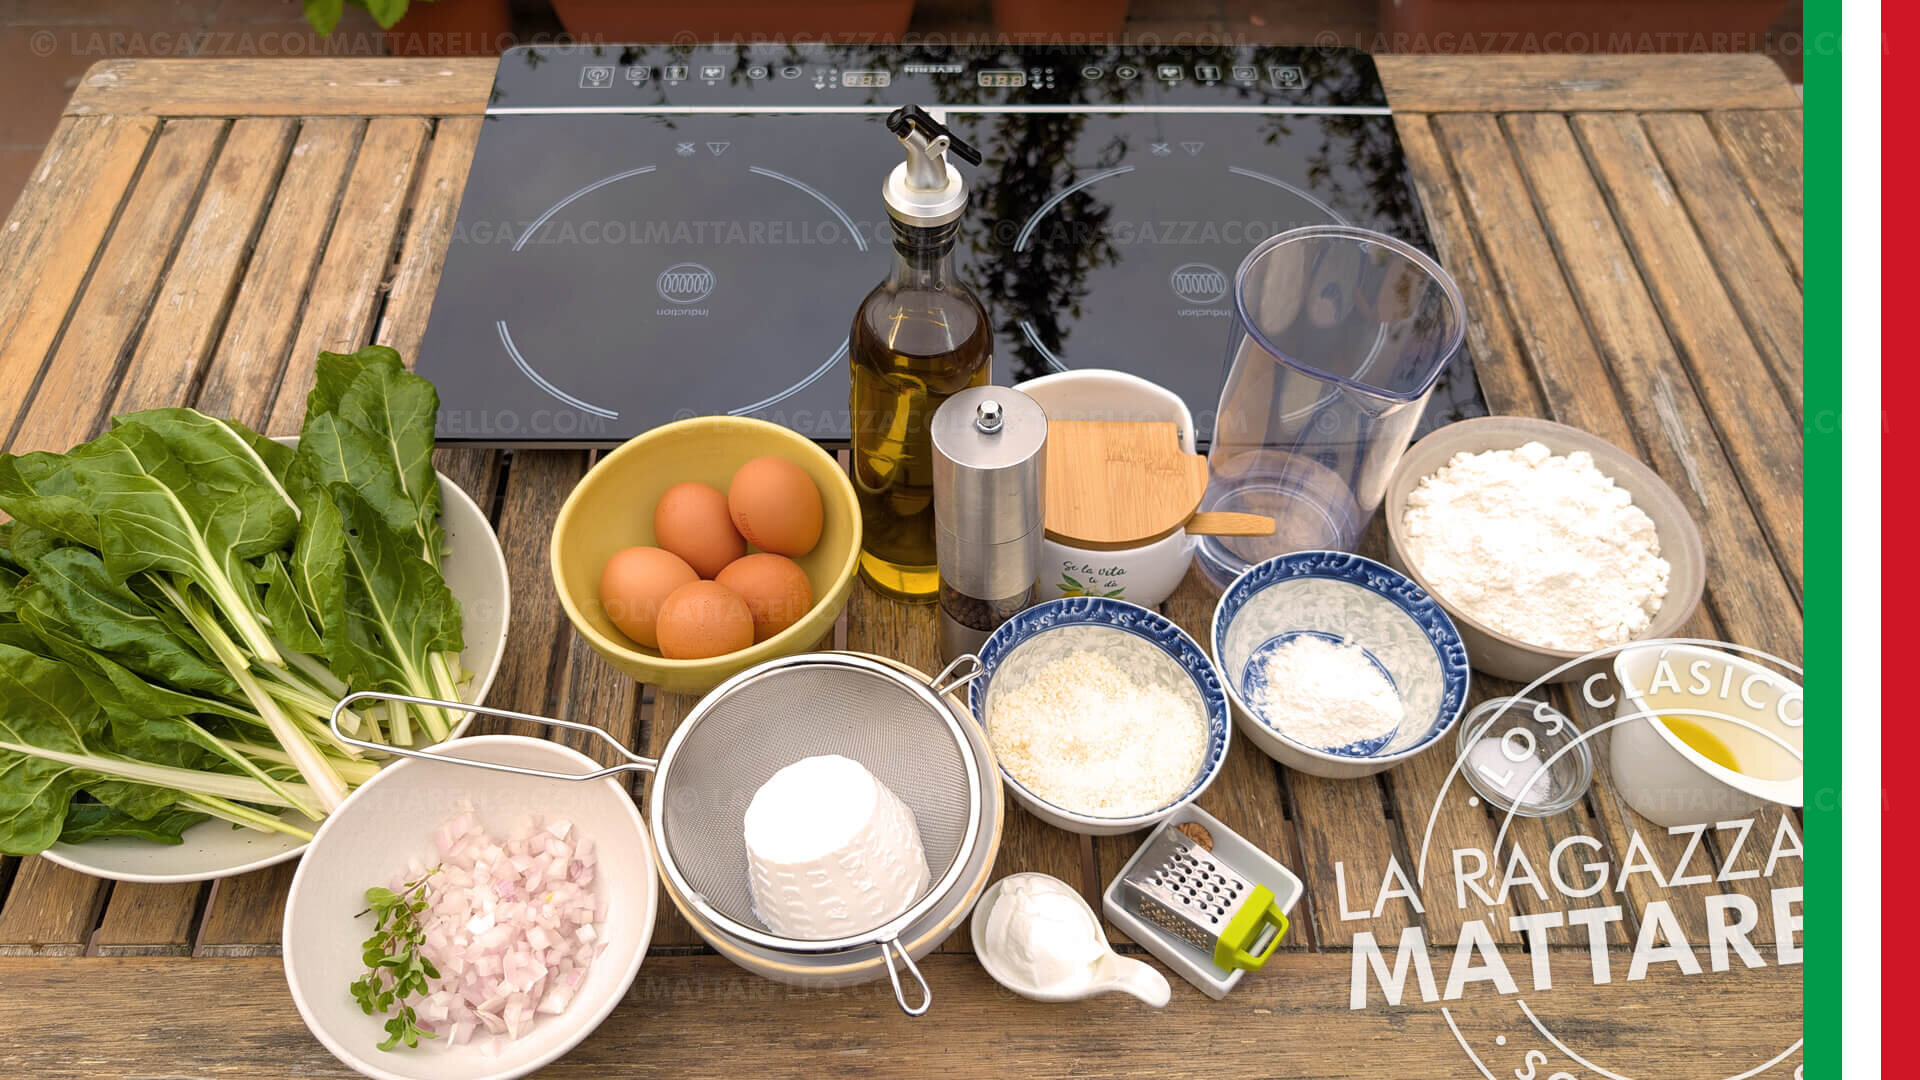
Main ingredients
For a 12 x 4 cm mold
⏱ Preparation time: 60 min
⏱ Resting time: 2 hours
⏱ Cooking time: 45 min
- 300 g of strong flour (bread flour)
- 350 g of cleaned Swiss chard
- 200 g of ricotta
- 5 eggs in total
- Onion, parmesan, and Greek yogurt
- Fresh marjoram, nutmeg, salt, and pepper
- Extra virgin olive oil and water
Remember: At the end of the article, you will find the complete recipe card with detailed cooking and preparation times.
How to prepare Torta Pasqualina: step by step
Making the pasta matta
First, we are going to prepare the base, known as pasta matta or “crazy dough.” In a large bowl, mix the strong flour with 5 g of salt and 12 g of olive oil. Next, gradually add 155 g of room-temperature water. Work the dough until it has absorbed the liquid, then move it to the table and knead for 8 to 10 minutes until you get a smooth and elastic ball. It is vital that it rests covered for at least two hours. Trust me, resting it will prevent it from breaking when you stretch it!
The Swiss chard and ricotta filling
While the dough rests, prepare the vegetables. Sauté half a chopped onion with a drizzle of olive oil over low heat. Add the chopped Swiss chard. Cook until tender and, very importantly, drain them well in a colander to remove all the water.
In another container, mix the well-drained ricotta with a tablespoon of Greek yogurt (this is our special touch to add acidity), 40 g of grated parmesan, one egg, marjoram, salt, black pepper, and a generous pinch of nutmeg.
Assembling the savory pie
Divide the rested dough into portions. Stretch the dough very thinly with a rolling pin and then with your fists, until it is almost transparent. Oil your mold and place the first layer of dough, brush with oil, and put another layer.
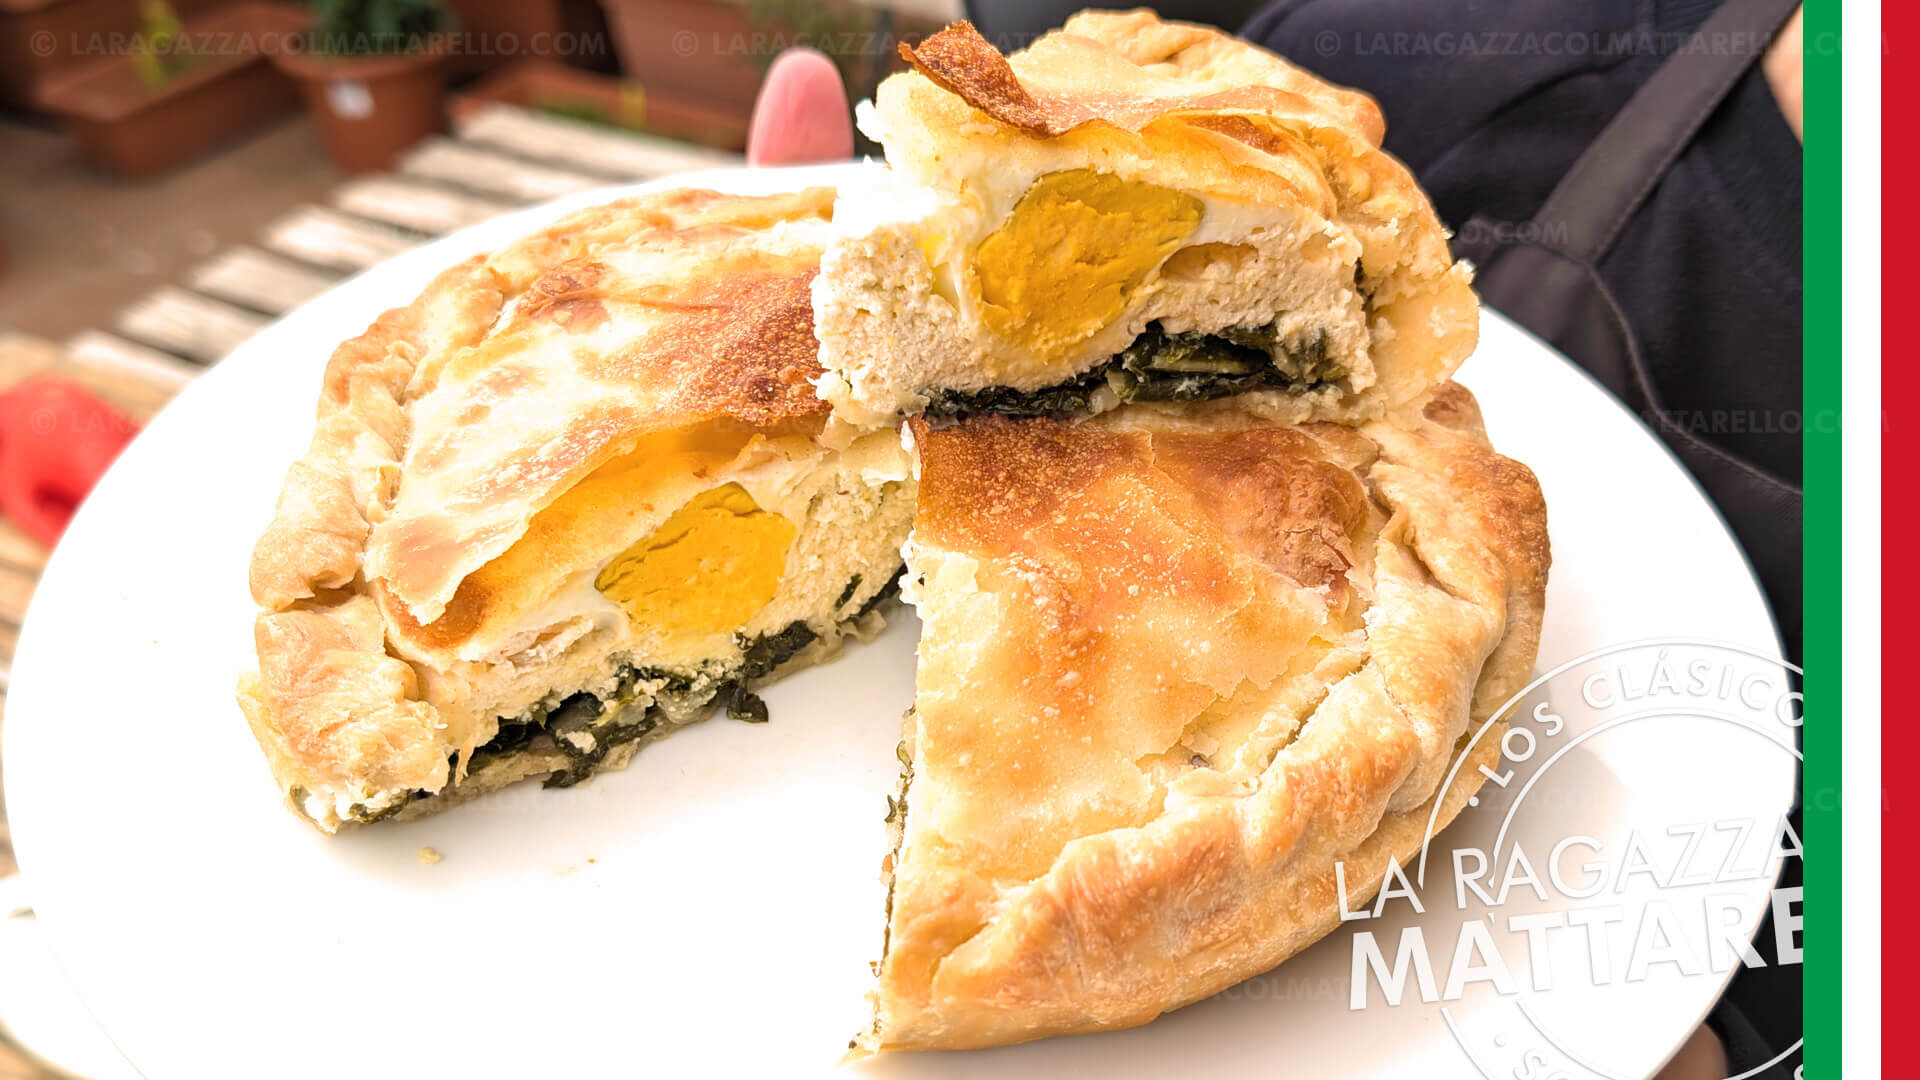
Distribute the Swiss chard first and, on top of it, the ricotta cream. Now comes the magic: make 3 or 4 wells in the filling and crack a whole egg into each one of them.
Baking and presentation
Cover the pie with the remaining layers of dough, remembering to brush with oil between each one. Seal the edges well by removing excess dough and brush the surface with more oil. Bake at 180 degrees in a preheated oven for 40 to 45 minutes. Finally, let it rest before cutting so that the slices are perfect and the whole egg is visible.
Tips and advice for a perfect Torta Pasqualina
Resting the dough is non-negotiable
“Pasta matta” does not contain yeast, but it needs to relax. If you try to stretch it without having let it rest for two hours, it will shrink and break. Patience is the secret to success.
Vegetables without a trace of water
Well-draining the Swiss chard is fundamental. If the vegetables release liquid inside the pie, the base will be soggy and raw instead of crispy and delicious.
The Greek yogurt trick
In Liguria, a local cheese called “prescinseua” is used, which has an acidic note. Since it is hard to find, adding a tablespoon of Greek yogurt to the ricotta replicates that authentic flavor wonderfully.
Frequently Asked Questions
Can I use spinach instead of Swiss chard?
Of course. Although the most traditional version from Liguria usually uses Swiss chard or a mixture of wild herbs, spinach works perfectly and is very popular.
Can Torta Pasqualina be prepared in advance?
Yes, in fact, it is recommended. Resting for a few hours or even from one day to the next settles the flavors and facilitates a much cleaner cut, ideal for taking on a picnic.
What type of flour is best for the dough?
It is essential to use strong flour (bread flour). Being more elastic, it allows you to stretch the layers of dough until they are almost transparent without them breaking. Avoid whole wheat flours for this technique.
Can I use store-bought puff pastry?
If you are in a big hurry, you can use store-bought puff pastry or shortcrust pastry. However, I encourage you to try the “pasta matta”; the traditional crispy result is totally worth it.
Related recipes you will love
If you want to explore more options for your Easter menu or are passionate about our traditions, take a look at these delights:
- Torta Pasqualina with spinach: my other version of this classic, with a faster dough.
- Pasta with tomato and basil: a classic recipe, simple and full of Italian flavor.
- Lasagna alla Bolognese: the star dish for large family gatherings.
Enjoy your traditional Torta Pasqualina!
This recipe requires a little care, but the result makes up for every minute invested. Go ahead and prepare it at home, take it to your next picnic, and tell me in the comments what face your guests made when they saw the perfect cut.
If you liked this recipe, subscribe to my YouTube channel and Instagram to discover more authentic Italian dishes. Leave a comment with your impressions and share your photos by tagging me. I would love to see your creations!
Buona Pasqua and enjoy your meal!
The latest video recipes from my channel!

The card
Torta Pasqualina: the traditional Italian savory pie for Easter
Ingredients
- 300 g bread flour
- 155 g room temperature water
- 5 g fine salt
- 12 g extra virgin olive oil
- Wheat flour or semolina for rolling out
- 350 g cleaned chard or a mix of chard and spinach
- Half a medium onion
- 200 g ricotta
- 4 whole eggs for the filling
- 1 egg to mix with the ricotta
- 40 g grated Parmesan
- 1 tablespoon of Greek yogurt
- 1 tablespoon of fresh chopped marjoram or oregano
- 5 g salt for the filling
- Black pepper to taste
- 1 generous pinch of nutmeg
- Olive oil for sautéing the onion
- 15 g extra virgin olive oil for brushing
Instructions
- Mix the bread flour with the salt and olive oil in a bowl
- Add the room temperature water little by little and mix everything
- Knead on the table for 10 minutes until you get a smooth and elastic dough
- Cover the dough with plastic wrap or a damp cloth and let it rest for at least 2 hours
- Chop the onion and sauté it in a pan with olive oil over low heat
- Add the chopped chard and cook until very tender
- Drain the chard very well in a colander to remove all the liquid
- Mix the well-drained ricotta with the Greek yogurt and an egg in a bowl
- Add the grated Parmesan cheese, marjoram, salt, pepper, and nutmeg
- Divide the rested dough into portions to form the different layers
- Stretch the dough with a rolling pin and your fists until it is almost transparent
- Grease the mold and place the first layer of dough, brushing with oil
- Add a second layer of dough and brush again with olive oil
- Fill with the drained chard and cover evenly with the ricotta cream
- Make wells in the cheese mixture and crack the 4 whole raw eggs into them
- Cover with the remaining layers of dough, brushing oil between each one
- Seal the edges well, removing any excess dough, and brush the surface
- Bake in a preheated oven at 180 degrees for about 40 to 45 minutes
- Let the pie rest at room temperature before cutting and serving it